Follow Me On Social Media!
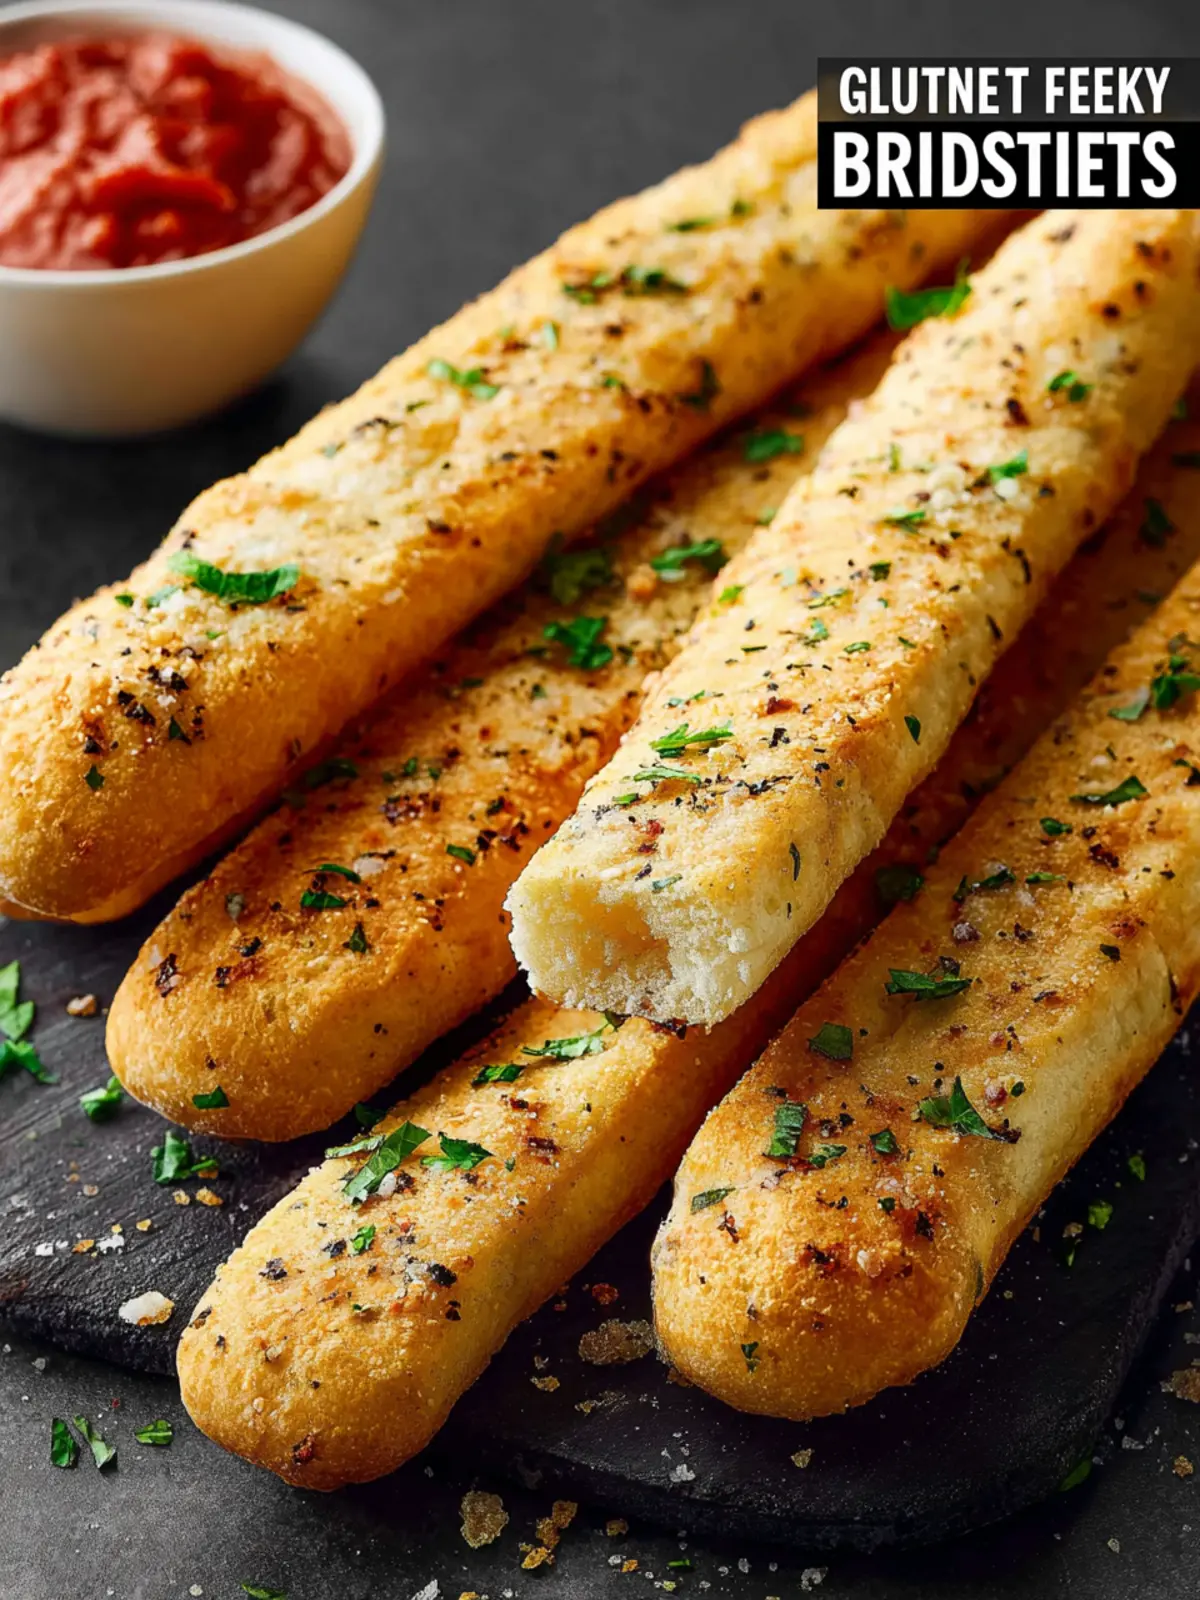
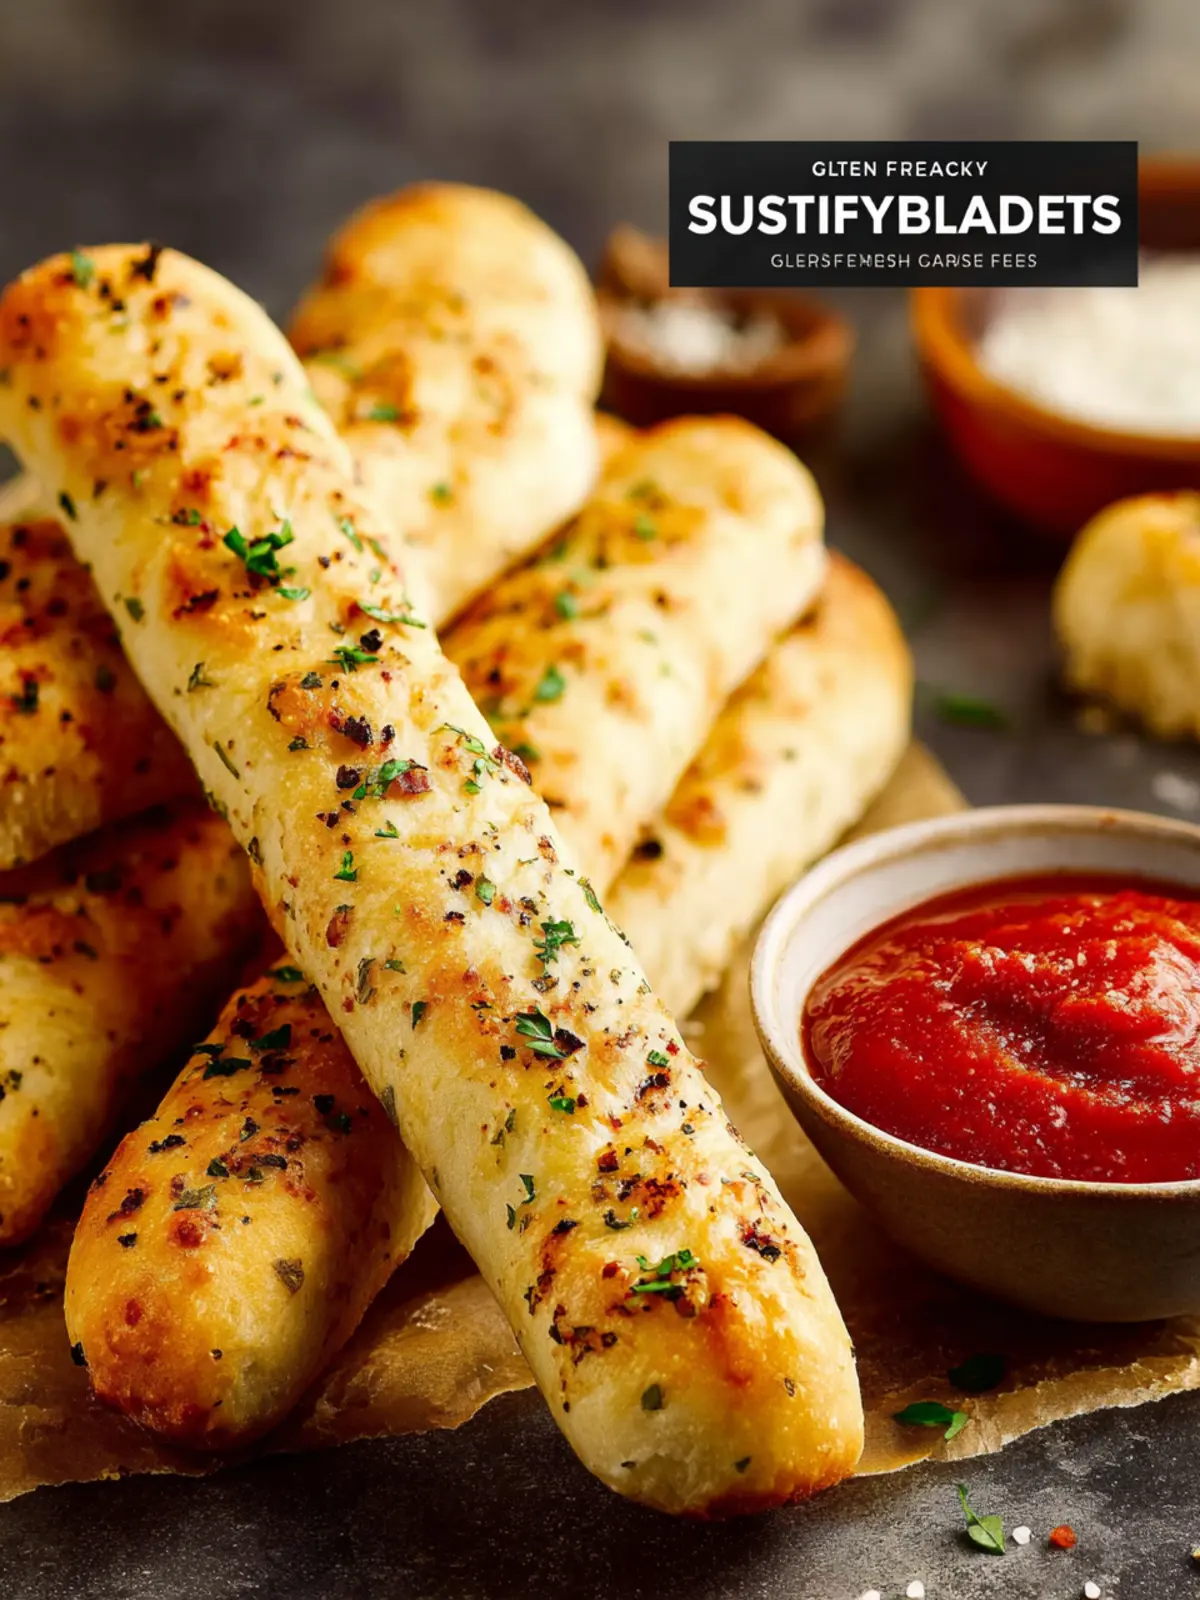
Gluten Free Breadsticks You’ll Crave Like Olive Garden!
Introduction to Gluten Free Breadsticks (Olive Garden Style)
Experience the delightful sensation of gluten free breadsticks that mimic the beloved Olive Garden classic. Picture yourself enjoying a warm, flavorful breadstick, perfectly brushed with garlic butter and sprinkled with herbs, all while comfortably at home. This recipe not only captures the essence of those famous breadsticks but also ensures everyone can indulge without gluten concerns.
As someone who appreciates the joy of sharing meals with friends and family, the feeling of creating a gluten-free option that tastes just as sensational is truly rewarding. Just imagining these buttery sticks baking to perfection fills me with anticipation for dinner party gatherings and cozy nights in. Are you ready to discover the magic behind these delightful gluten-free breadsticks?
What’s the magic behind these breadsticks?
The secret lies in a combination of high-quality ingredients and a little culinary love. Here’s what makes these gluten free breadsticks stand out:
-
Gluten-Free Flour: A key player in this recipe is the gluten-free flour blend, which lends a wonderfully tender texture. It’s crucial to choose a blend that contains xanthan gum or to add it yourself for better elasticity and rise.
-
Yeast: Just like with traditional breadsticks, yeast is essential for that fluffy rise. This adds a lovely flavor profile that complements the garlic and herbs.
-
Garlic and Butter: A brush of melted butter mixed with minced garlic gives these breadsticks their signature flavor. This step is where the breadsticks transform from simple to spectacular.
-
Herbs: A sprinkle of Italian seasoning or fresh parsley not only enhances the flavor but also gives that restaurant-style look. You can customize these by using your favorite herbs or spices.
-
Baking Time: The right baking time is crucial! Keep an eye on them as they bake; you want a golden-brown exterior that’s slightly firm to the touch but remains irresistible and soft inside.
Creating these gluten-free breadsticks isn’t just about following a recipe; it’s about evoking memories of shared laughter and delicious meals. So, roll up your sleeves, gather your ingredients, and get ready to add your own twist to these beloved gluten free breadsticks.
Key Ingredients for Gluten Free Breadsticks
Psyllium Husk: This ingredient serves as a fantastic binder and thickener, ensuring your gluten free breadsticks have the perfect texture. It mimics gluten’s elasticity, delivering that delightful chewiness we all crave in breadsticks.
Tapioca Starch: This magical starch contributes to a chewy consistency, perfect for breadsticks, while creating a slightly crisp exterior during baking. It’s key to achieving that desirable crunch on the outside.
Millet Flour: Looking to add a nutritious twist? Millet flour brings a lovely nutty flavor and packs a punch of vitamins and minerals, elevating the health benefits of your dish.
Buckwheat Flour: Offering an earthy taste, buckwheat flour is high in protein, making it a smart choice for anyone avoiding gluten yet seeking to maintain a nutritious profile in their meal.
Instant Yeast: A must-have for any baker, instant yeast allows for a quick rise, ensuring your gluten free breadsticks are fluffy and light in no time.
Sugar: This ingredient not only activates the yeast but also adds a subtle sweetness that perfectly balances the flavors in your breadsticks.
Salt: As a flavor enhancer, salt is essential in bringing out the best in all the ingredients, making every bite memorable.
Melted Butter: Adding richness and a silky finish, melted butter beautifully complements the texture and flavor of your gluten free breadsticks.
Apple Cider Vinegar: This unique ingredient supports fermentation and adds a delightful tang, enhancing the overall flavor profile of your breadsticks.
Why You’ll Love These Gluten Free Breadsticks
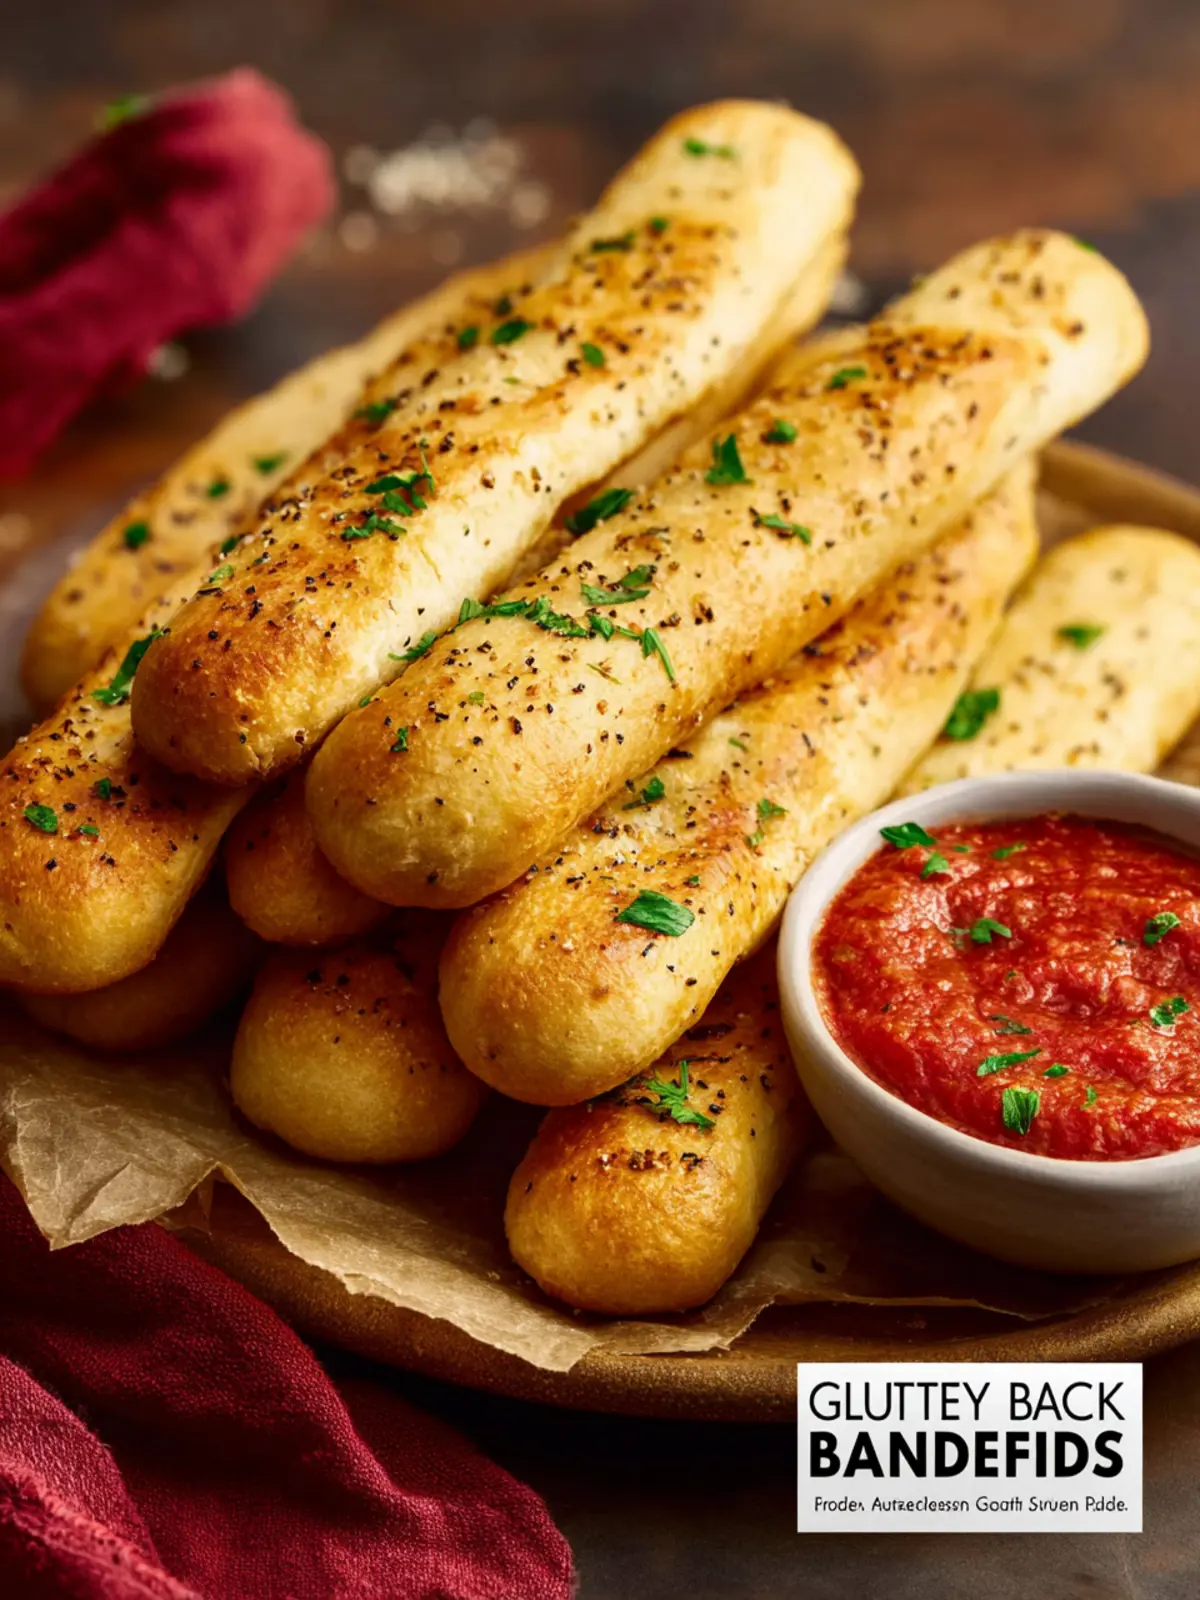
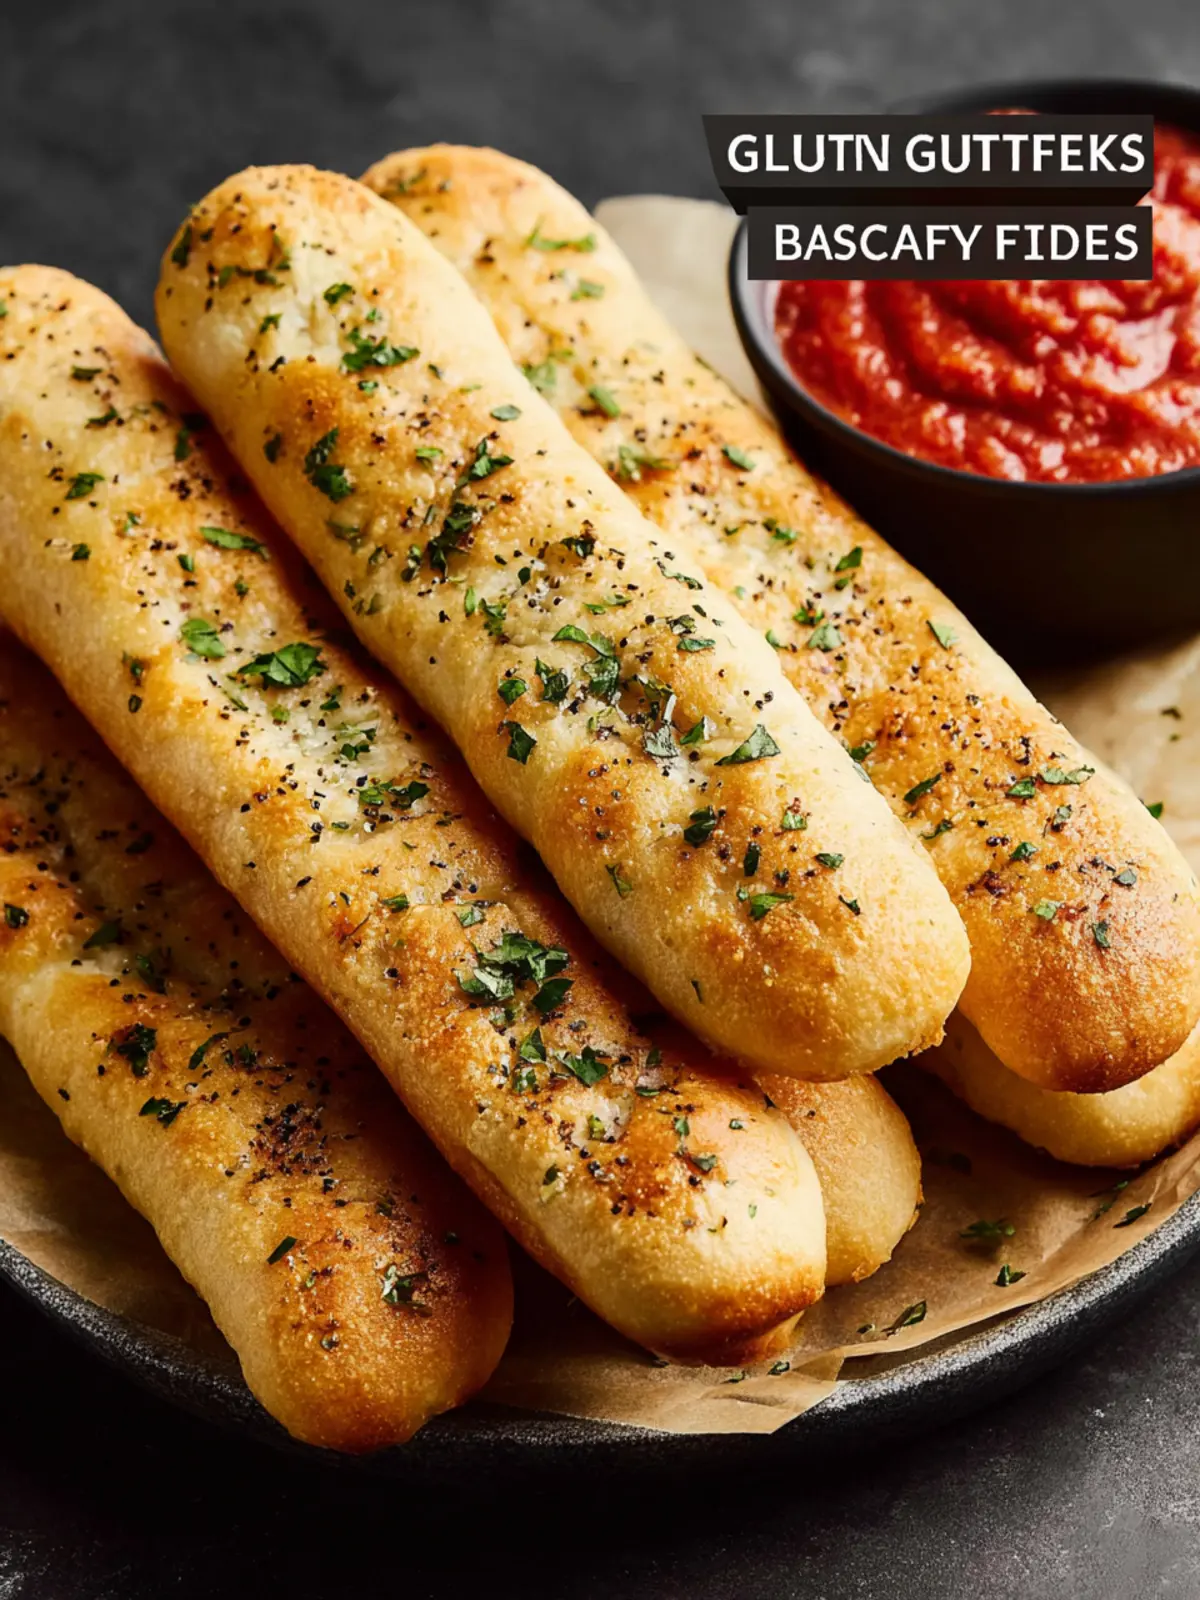
There’s nothing quite like the comforting scent of freshly baked gluten free breadsticks wafting through your kitchen, inviting friends and family to gather ’round. These breadsticks aren’t just about nostalgia; they define cozy evenings spent at Olive Garden, where the warm, buttery flavor hugs you like an old friend. Imagine serving these breadsticks at your next gathering—they’re perfect for pairing with marinara or ranch dip, which elevates any meal into a delightful experience.
A Perfect Texture
These gluten free breadsticks are beautifully soft on the inside while achieving that much-desired slight crispiness on the outside. You might even forget they’re gluten-free! With a balanced blend of almond flour and tapioca starch, they rise perfectly every time, creating a texture that’s hard to resist.
Flavor That Stands Out
Seasoned with just the right amount of garlic and herbs, each bite bursts with flavor. Whether enjoyed on their own or as a side to a hearty pasta dish, these breadsticks are versatile and satisfying. Plus, they’re so easy to make that you might find yourself whipping them up for dinner more often than not.
Perfect for Sharing
Sharing food is all about creating connections, and these gluten free breadsticks are an ideal way to kick off a meal. They’re perfect for family dinners, gatherings with friends, or even a cozy night in. You’ll find that they not only fill your belly but also bring people together, making every occasion even more special. So, why not give them a try? Your taste buds will thank you!
Variations to Explore
Experimenting with gluten-free breadsticks can be a delightful culinary adventure. If you’re in the mood to play around in the kitchen, here are a few fun variations worth trying:
-
Herb-Infused Dough: Add fresh or dried herbs like rosemary, thyme, or oregano to the dough for a fragrant and savory twist. This not only elevates the flavor but also brings a lovely aroma as they bake.
-
Cheesy Delight: Incorporate shredded cheese into the dough, like mozzarella or Parmesan. This will give your breadsticks a rich, cheesy flavor that pairs beautifully with marinara or garlic dipping sauces.
-
Garlic Butter Topping: Brush the warm gluten-free breadsticks with melted garlic butter as soon as they come out of the oven. It’ll add a wonderful burst of flavor and make every bite irresistible.
-
Sweet Options: For a different take, consider adding a bit of honey or sugar to the dough along with cinnamon. This transforms your breadsticks into a delightful dessert-like treat that you can serve with a sweet dip.
Each of these variations adds a personal touch, ensuring that your gluten-free breadsticks are never boring!
Cooking Tips and Notes
Creating gluten free breadsticks that rival those at Olive Garden doesn’t have to be daunting. Let’s delve into some helpful tips to elevate your cooking experience.
Choosing the Right Flour
Using a high-quality gluten-free flour blend can significantly affect the texture of your breadsticks. I recommend blends that include xanthan gum for a chewier result. If you can find one with a neutral flavor, it will keep the taste of your breadsticks rich and delightful.
Perfect Timing and Temperature
Make sure your oven is preheated to the correct temperature. A hot oven helps the breadsticks rise beautifully and develop that perfect golden crust. If you’re using a baking stone, give it a good 30 minutes to heat up before placing your dough on it.
Mind the Dough Consistency
Your gluten free breadsticks dough should be a bit stickier than traditional dough. Don’t be afraid to adjust the liquid and flour ratio if your dough feels too dry or too wet. Remember, the goal is a pliable yet firm consistency.
Flavor Enhancements
Experiment with flavors by adding garlic powder, herbs, or cheese to your dough. These additions not only enhance the taste but can also make your breadsticks even more enjoyable alongside your favorite dips.
Storage Tips
To enjoy your gluten free breadsticks for days, store them in an airtight container. They can also be frozen; simply reheat in the oven to achieve that freshly baked texture again.
Serving Suggestions for Gluten Free Breadsticks
Imagine settling in for a cozy evening with a warm basket of gluten free breadsticks fresh from the oven. Whether you’re hosting a dinner party, indulging in a movie night, or just spicing up a weeknight meal, these delightful breadsticks truly elevate the experience.
Pairing with Dipping Sauces
A fantastic way to enjoy your gluten free breadsticks is by serving them alongside an array of dipping sauces. Think marinara, buttery garlic, or even a zesty pesto. Each dip adds a new layer of flavor that’s sure to please.
Accompaniments for Meals
These breadsticks make a wonderful addition to a hearty Italian dish. They pair beautifully with classics like lasagna, spaghetti, or even a simple salad. Picture it: the warm breadsticks soaked in a rich tomato sauce, creating a comforting meal.
Savory Snack Options
Feeling adventurous? Try using your gluten free breadsticks as a base for mini bruschettas. Top them with fresh tomatoes and basil for a quick and delicious appetizer that will impress your guests.
With these serving suggestions, your gluten free breadsticks will shine at any gathering!
Time Breakdown for Gluten Free Breadsticks
When you decide to whip up gluten free breadsticks, a delightful aroma fills your kitchen. Preparing them is not just about glorious flavors; it’s all about timing too. Here’s the breakdown to help you time your baking perfectly.
Preparation Time
You’ll need about 15 minutes to gather your ingredients, mix the dough, and get it ready for the first rise. This stage is quick and allows you to savor the initial excitement.
Rising Time
Patience is key during the rising phase, which takes approximately 1 hour. Allow the dough to double in size as it works its magic. This is where the gluten-free blend proves its worth in texture and softening.
Baking Time
Baking your gluten free breadsticks takes around 15-20 minutes. You’ll know they’re ready when they turn golden brown and your kitchen becomes an irresistible aroma paradise.
Total Time
In total, you’re looking at about 1 hour and 35 minutes from start to finish. It’s a small investment for such fluffy, crispy delights that elevate any meal!
Nutritional Facts for Gluten Free Breadsticks
Crafting gluten free breadsticks at home offers a delightful way to indulge without the gluten hassle. But what about the nutritional value? Here’s a quick overview to help you stay informed while you savor each bite.
Calories
Each serving of these delicious gluten free breadsticks contains approximately 150 calories. This makes them a guilt-free addition to your meal, pairing perfectly with soups or salads.
Protein
With about 3 grams of protein per serving, these breadsticks can contribute to your daily protein intake. They are a nice option for adding a touch of nourishment alongside your favorite dishes.
Carbohydrates
Each serving packs around 28 grams of carbohydrates. While it’s wise to watch carb intake, these sticks deliver that delightful bread experience without the gluten.
Fiber
At about 1 gram of fiber per serving, they can help in maintaining digestive health. Savoring these gluten free breadsticks can add a little extra satisfaction to your meal, especially when paired with fiber-rich foods.
FAQs about Gluten Free Breadsticks
Creating gluten free breadsticks at home can feel like a culinary adventure, and it’s perfectly normal to have questions along the way. Let’s tackle some common queries to help you master this delightful recipe inspired by Olive Garden.
Can I use other flours in this recipe?
Absolutely! While this recipe is designed for a specific gluten-free flour blend, you can experiment with other gluten-free flours like almond, coconut, or tapioca flour. Just remember that each flour behaves differently, so your texture and flavor might vary. It might take a few tries to find your perfect flour combination.
What should I do if the dough is too sticky?
Sticky dough can be a common concern when making gluten free breadsticks. If you find the dough difficult to handle, don’t hesitate to add a little more flour, a tablespoon at a time, until it reaches a workable consistency. Just be careful not to overdo it—too much flour can lead to dry breadsticks.
How do I store leftover breadsticks?
Keep your leftover gluten free breadsticks wrapped tightly in plastic wrap or stored in an airtight container at room temperature. They are best enjoyed within a few days. However, if you want to keep them fresh longer, placing them in the refrigerator can help, just remember to reheat them slightly before serving.
Can I freeze these gluten-free breadsticks?
Yes! Freezing is a great option if you want to save some for later. Wrap each breadstick individually in plastic wrap, then place them in a freezer bag. When you’re ready to enjoy them, simply thaw in the refrigerator and reheat in the oven for that crispy texture.
Why are my breadsticks not rising?
If your gluten free breadsticks aren’t rising, check your yeast. Make sure it’s fresh and active, as expired yeast can result in dense breadsticks. Additionally, ensure the environment is warm enough for the dough to rise—if your kitchen is chilly, consider placing the dough in a slightly warm oven to encourage leavening.
Conclusion on Gluten Free Breadsticks
As you savor these gluten free breadsticks, you’re not just enjoying a delicious side dish; you’re creating a moment. Picture family gatherings or cozy dinners where these warm, crispy sticks take center stage. Their softness and buttery flavor mirror that cherished Olive Garden experience, all while being gluten-free. These breadsticks are ideal for pairing with your favorite pasta dishes or as a snack on their own. Remember, good food is all about joy and connection, and these breadsticks ensure you don’t miss out on any of it. Try baking a fresh batch soon, and enjoy the delightful goodness!
Print
Garlic Breadsticks
- Total Time: 2 hours 40 minutes
- Yield: 12 breadsticks 1x
- Diet: Gluten-Free
Description
These garlic breadsticks are a delicious and easy gluten-free treat, perfect for any meal.
Ingredients
Scale
- 1/4 cup whole psyllium husk
- 1 3/4 cups warm water
- 1 1/2 cups tapioca starch
- 1 1/4 cups millet flour
- 6 tbsp buckwheat flour
- 1 1/2 tbsp sugar
- 2 1/4 tsp instant yeast
- 2 tsp salt
- 1 tbsp melted butter
- 2 tsp apple cider vinegar
- 2 tbsp unsalted butter, melted
- 1/4 tsp salt
- 1/4 tsp garlic powder
Instructions
- Pan Prep: Line 2 large baking sheets with parchment paper and set aside.
- Psyllium Gel: Mix water and psyllium husk together in a medium bowl. Set aside to thicken up as you prep the other ingredients.
- Flour Mixture: Whisk tapioca starch, millet flour, buckwheat flour, sugar, yeast, and salt together in a large bowl until well combined.
- Combine Wet Ingredients: Stir melted butter and vinegar into the psyllium mixture.
- Add Wet to Dry Ingredients: Pour the psyllium gel into the flour mixture. Mix together until fully combined. Make sure to scrape down the bottom and sides of the bowl every so often to get all the floury bits. Mix together until you end up with a thick, sticky dough that easily clumps together. You can do this by hand or in a stand mixer with a paddle attachment or dough hook.
- Knead: Generously dust your hands and a clean work surface with extra flour. Knead the dough on the floured surface – adding a bit more flour as you knead until the dough is smooth and slightly tacky.
- Divided & Shape: Divide the dough into 12 equal portions (about 70 g or 2 ounces). Roll each dough ball out into an 8-inch log. Transfer to the parchment-lined baking sheet. Repeat with the remaining dough.
- Proof: Cover with foil, plastic wrap, or a clean tea towel. Set aside in a warm place for about 2 hours to rise.
- Bake: Preheat oven to 400°F (200°C). Once heated, remove the cover from the breadsticks and bake for 18-20 minutes. Halfway through the cook time, rotate the pans to ensure even cooking.
- Topping: While the breadsticks bake, mix melted butter, salt, and garlic powder together.
- Finish: Brush the breadsticks with garlic butter while still hot. Sprinkle additional toppings if desired (like parmesan cheese or fresh parsley). Allow a few minutes to cool, then serve and enjoy.
Notes
- For best results, keep the dough covered while it rises.
- These breadsticks can be frozen after baking for later enjoyment.
- Prep Time: 20 minutes
- Cook Time: 20 minutes
- Category: Bread
- Method: Baking
- Cuisine: American
Nutrition
- Serving Size: 1 breadstick
- Calories: 120
- Sugar: 1g
- Sodium: 200mg
- Fat: 5g
- Saturated Fat: 3g
- Unsaturated Fat: 2g
- Trans Fat: 0g
- Carbohydrates: 15g
- Fiber: 2g
- Protein: 3g
- Cholesterol: 10mg